How to install Kubernetes Cluster on AWS EC2 instances
 Ashish Pandey
This is a guide for setting up a Kubernetes cluster over AWS EC2 instances from scratch. Let’s start with the prerequisites first.
Prerequisites:
- You need to have created at least one AWS EC2 instance for acting as Master node and at least one AWS EC2 instance to act as a worker node.
- In this tutorial, I have used Amazon Linux 2 AMI when I lunched EC2 instances, which is based on centos Linux. This AMI also has some pre-installed libraries that AWS does for you. However, you can use any centos-based system such as RHEL as well. In that case, most of the commands remain the same.
- While launching AWS ec2 instances, make sure that you open all the ports in the related security groups.
- Both the AWS EC2 instances need to be on the same VPC and preferably same availability zone.
- Needless to say, you need to have putty/terminal to connect to your EC2 instances.
Connect to both the ec2 instances using two putty terminals. Decide which EC2 instance would be the master/manager and which would be worker/slave. Henceforward we will call them master and worker nodes. There are a few commands that we need to run on the master as well as the worker node.
Hope you are ready with all that is written in the prerequisites.
On both the master and worker nodes:
Be a root user. Install Docker and start Docker service. Also, enable the docker service so that the docker service starts on system restarts.
sudo su
yum install docker -y
systemctl enable docker && systemctl start docker
Create proper yum repo files so that we can use yum commands to install the components of Kubernetes.
cat <<EOF > /etc/yum.repos.d/kubernetes.repo
[kubernetes]

name=Kubernetes

baseurl=https://packages.cloud.google.com/yum/repos/kubernetes-el7-x86_64

enabled=1

gpgcheck=1

repo_gpgcheck=0

gpgkey=https://packages.cloud.google.com/yum/doc/yum-key.gpg https://packages.cloud.google.com/yum/doc/rpm-package-key.gpg

exclude=kube*

EOF
sysctl command is used to modify kernel parameters at runtime. Kubernetes needs to have access to kernel’s IP6 table and so we need to do some more modifications. This includes disabling secure Linux.
cat <<EOF >  /etc/sysctl.d/k8s.conf
net.bridge.bridge-nf-call-ip6tables = 1
net.bridge.bridge-nf-call-iptables = 1
EOF

sysctl --system
setenforce 0
Install kubelet, kubeadm and kubectl; start kubelet daemon
yum install -y kubelet kubeadm kubectl --disableexcludes=kubernetes
systemctl enable kubelet && systemctl start kubele
Only on the Master Node:
On the master node initialize the cluster.
sudo kubeadm init --pod-network-cidr=192.168.0.0/16 --ignore-preflight-
errors=NumCPU
# sudo kubeadm init --pod-network-cidr=192.168.0.0/16 #Do this only if proper CPU cores are available
Wait for around 4 minutes. Following commands will appear on the output screen of the master node. Either copy and paste that in the same terminal or copy it from here and apply it on the master’s terminal.
mkdir -p $HOME/.kube
sudo cp -i /etc/kubernetes/admin.conf $HOME/.kube/config
sudo chown $(id -u):$(id -g) $HOME/.kube/config
This will also generate a kubeadm join command with some tokens.
On Worker nodes:
After initializing the cluster on the master node. copy kubeadm join command from output of kubeadm init on master node. (Switch to the root mode first)
sudo su
<kubeadm join command copies from master node>
On the master node as well as the worker node initialize KUBECONFIG so that kubectl commands can be executed.
export KUBECONFIG=/etc/kubernetes/kubelet.conf
Now our cluster is created, you can see these by using the command below:
kubectl get nodes
The output of the command above will show both the nodes in NOTREADY state. That is because Kubernetes needs an “overlay network” so that pod-to-pod communication can happen properly. This overlay network is created by third-party CNI plugins. We are going to use Calico to create that overlay network.
Create an Overlay network using Calico CNI plugin on Master node
For calico networking copy-paste these commands and apply on the master node only
sudo kubectl apply -f https://docs.projectcalico.org/v3.2/getting-started/kubernetes/installation/hosted/etcd.yaml
sudo kubectl apply -f https://docs.projectcalico.org/v3.2/getting-started/kubernetes/installation/rbac.yaml
sudo kubectl apply -f https://docs.projectcalico.org/v3.2/getting-started/kubernetes/installation/hosted/calico.yaml
Take a pause of 2 minutes and see if the nodes are ready; run it on master node
kubectl get nodes
You should be able to see the list of two nodes and both should be in READY state.
Watch all the system pods.
kubectl get pods --all-namespaces
You should be able to see a lot of pods in the output of above command. If it is not working, try reloading the root profile by running the command below and try hitting the previous command.
sudo su –
kubectl get pods --all-namespaces
Reach out to us at [email protected] for any upskilling needs of your team.
Keywords : kubernetes containers kubernetes-training cloud DevOps microservices docker
Recommended Reading
Get Kubernetes Certified
Kubernetes is increasingly becoming the de-facto standard for container-orchestration. It is used for deploying and managing microservice-based applications. It also helps in scaling and maintaining as well. It is open-source software that was initially rel...
What is Helm in Kubernetes?
In this article, we would be discussing what Helm is and how it is used for the simple deployment of applications in the Kubernetes network. Continue reading to learn more about Helm in Kubernetes.
How to install Kubernetes Clusters Using Terraform?
Kubernetes is a container orchestration platform that can be used to deploy and manage a containerized applications. Generally, Microservices-based applications are first converted into Docker (or other container runtimes) images and then these microservice...
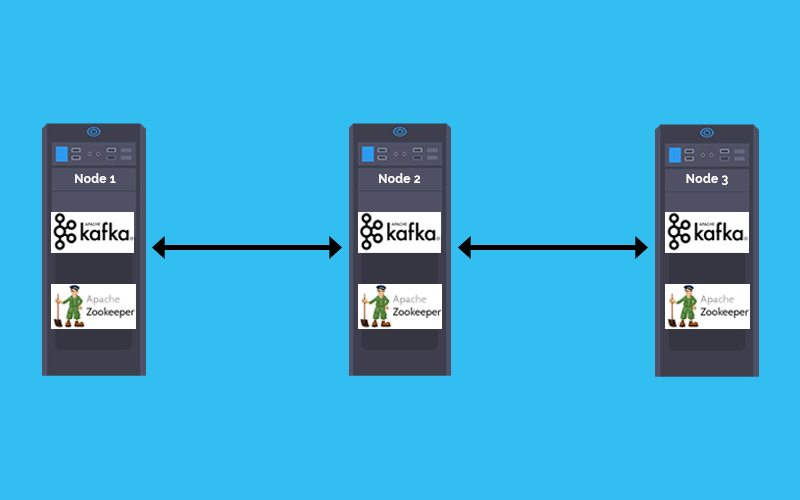
How to deploy Kafka and Zookeeper cluster on Kubernetes
In a Microservices based architecture message -broker plays a crucial role in inter-service communication. The combination of Kafka and zookeeper is one of the most popular message broker. This tutorial explains how to Deploy Kafka and zookeeper stateful se...
How to create a Docker Container Registry
Running a Local Docker Registry One of the most frequently asked question by developers is, how to set up a container registry for storing the Docker images?

Container is the new process and Kubernetes is the new Unix.
Once a microservice is deployed in a container it shall be scheduled, scaled and managed independently. But when you are talking about hundreds of microservices doing that manually would be inefficient. Welcome Kubernetes, for doing container orchestration ...
Why Learning Docker Containers is so important in IT industry?
Containerization/Dockerization is a way of packaging your application and run it in an isolated manner so that it does not matter in which environment it is being deployed. In the DevOps ecosystem containers are being used at large scale. and this is just...

zekeLabs among Top 10 destinations to learn AI & Machine Learning
Artificial Intelligence course from zekeLabs has been featured as one of the Top-10 AI courses in a recent study by Analytics India Magazine in 2018. Here is what makes our courses one of the best in the industry.